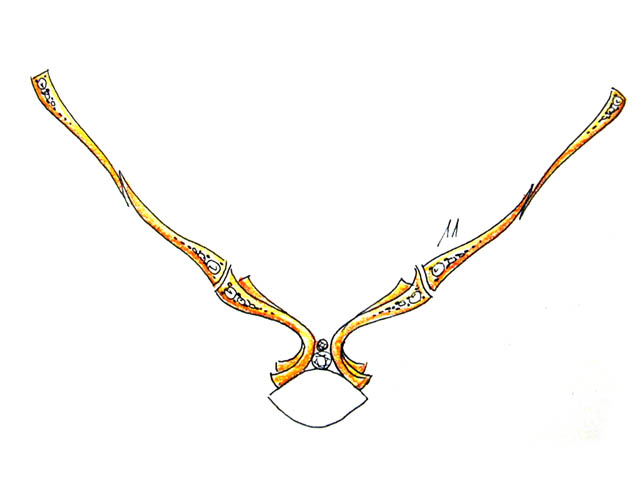
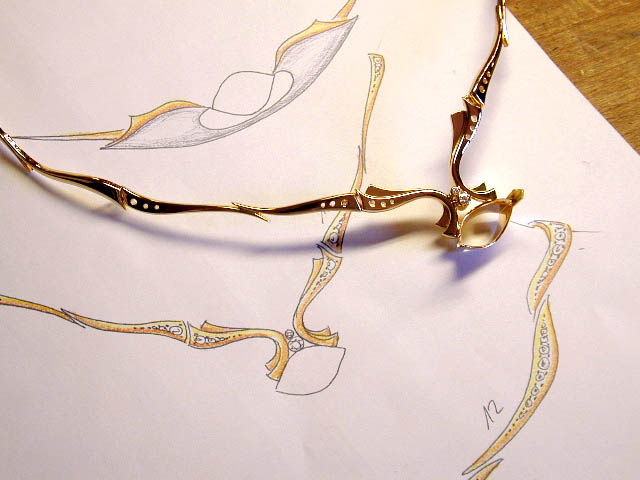
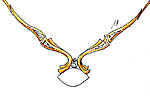
 | 01 | The original design. |
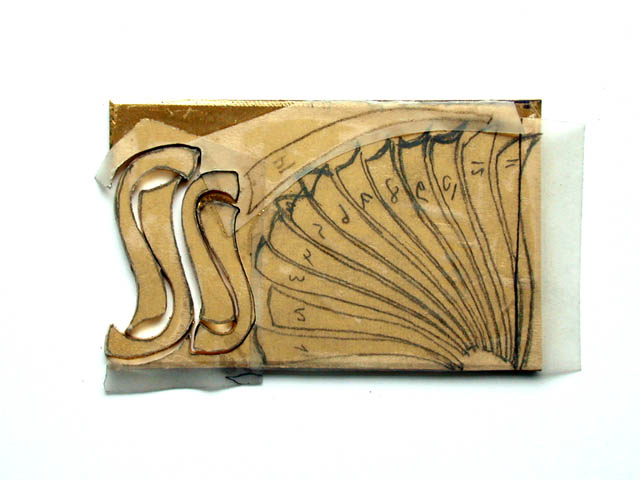
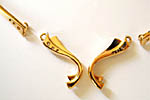
 | 02 | Trace the parts and try to fit them on your 2 mm plate. You are looking at 80 gramms of gold. |
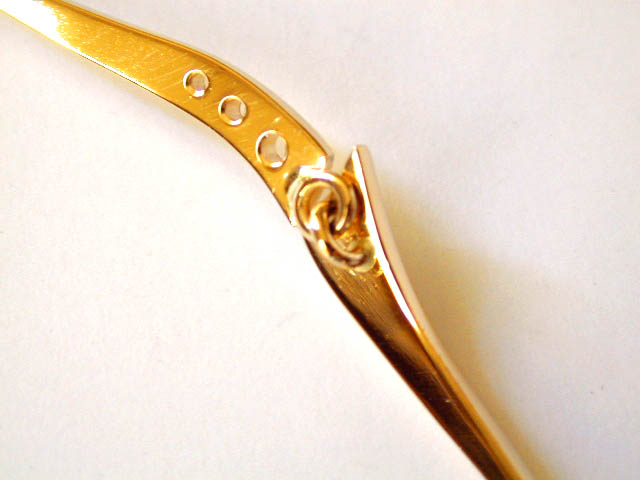
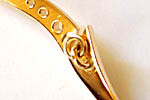
 | 03 | Cut out all pieces. Drill the holes for the diamonds. |
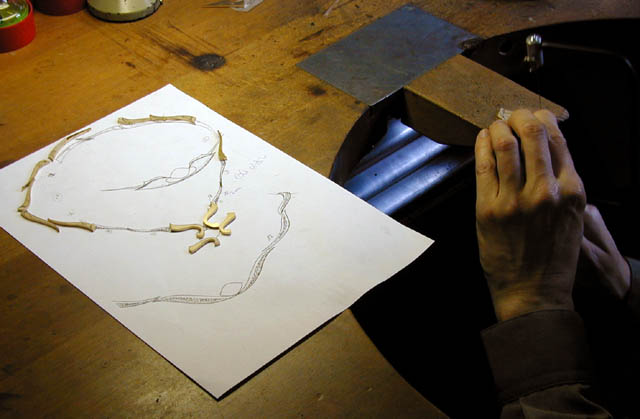
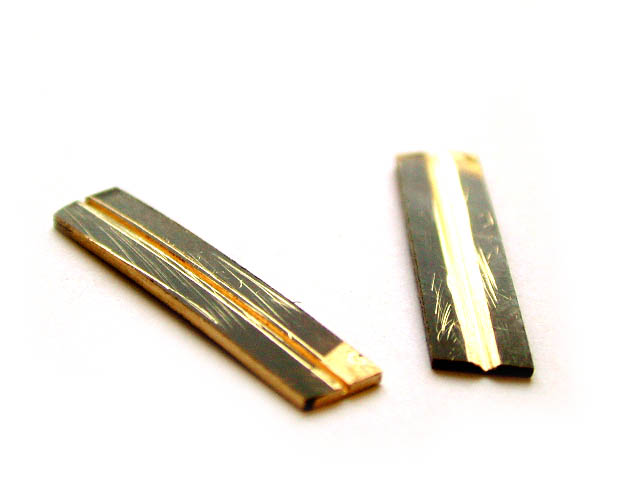
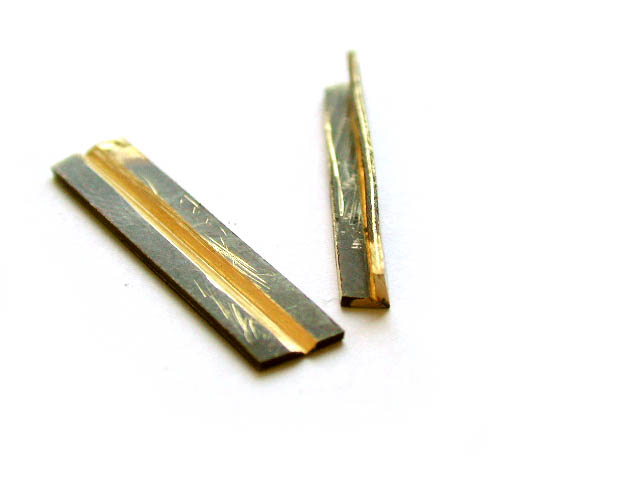
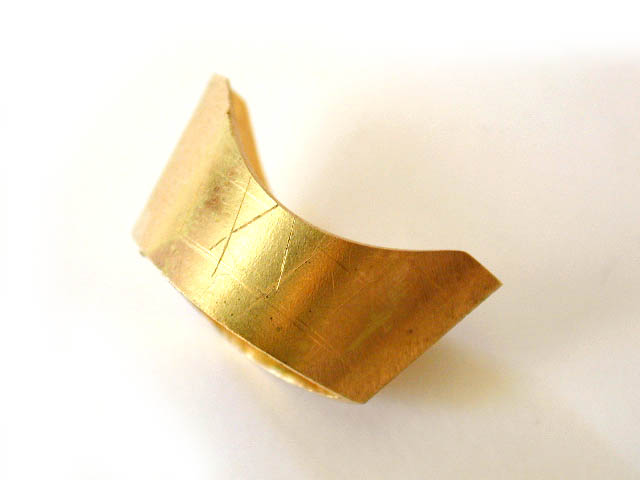
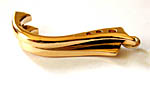
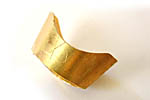
 | 04 | File the lines, round the surfaces, sand and dome the pieces. This step will take a couple of hours. |
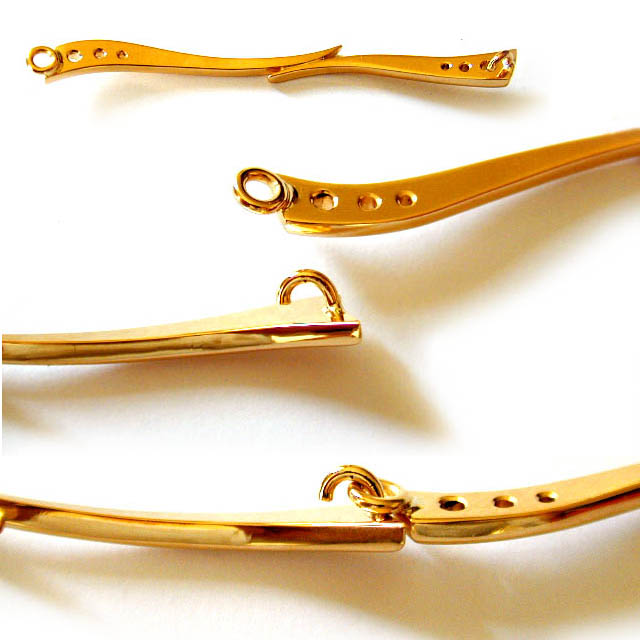
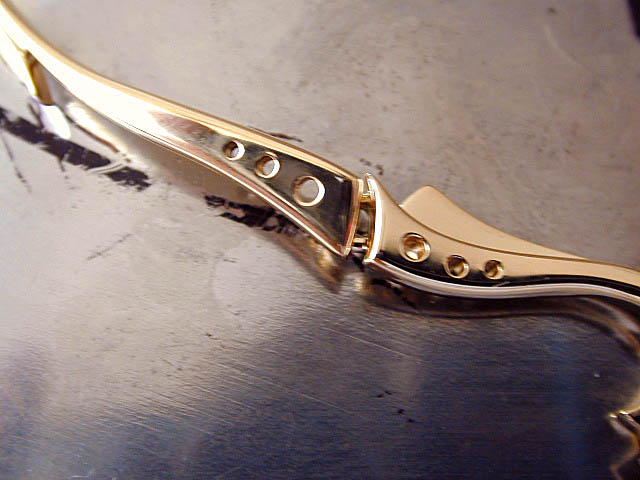
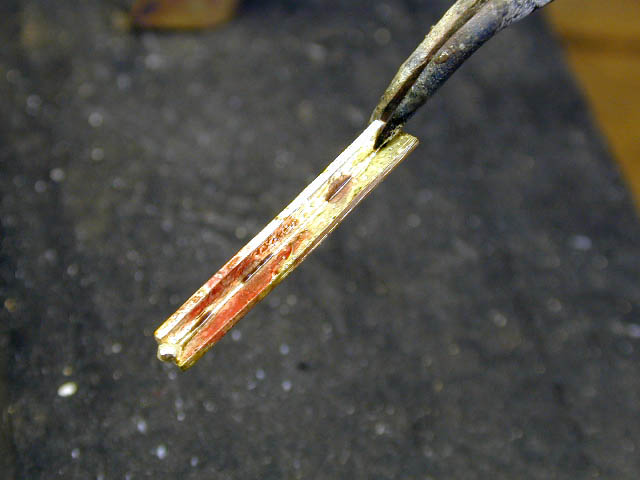
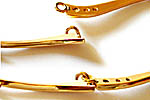
 | 05 | Solder the connecting rings. Allow enough space for the parts to move. |
 | 06 | |
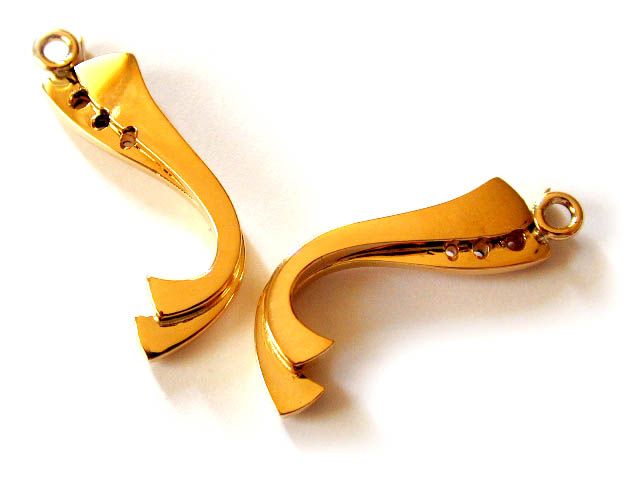
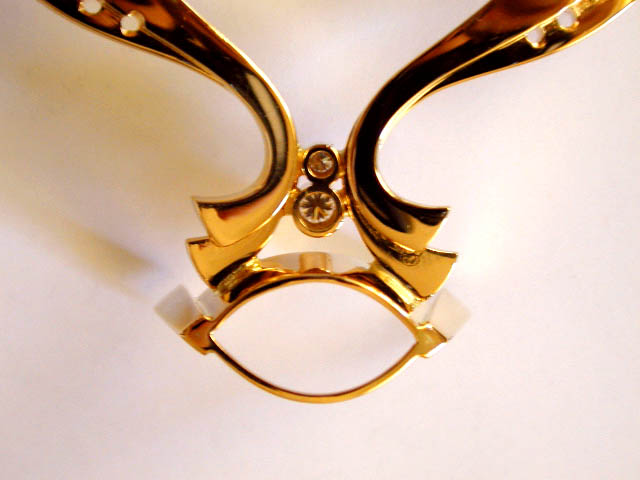
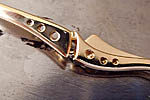
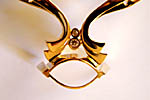
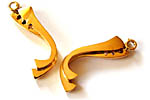 | 07 | Centerpiece form the back. |
 | 08 | Front. |
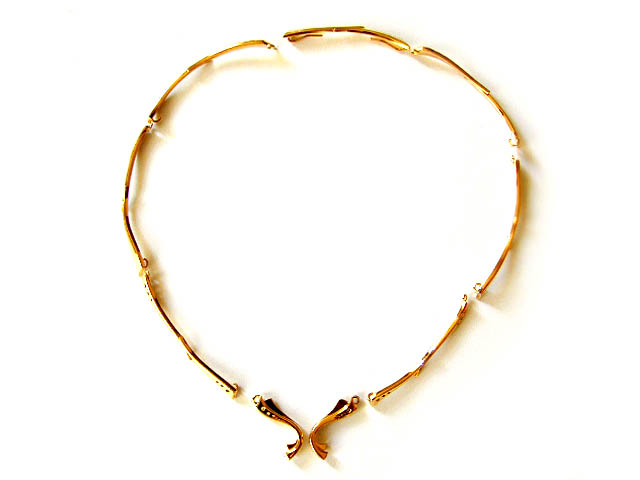
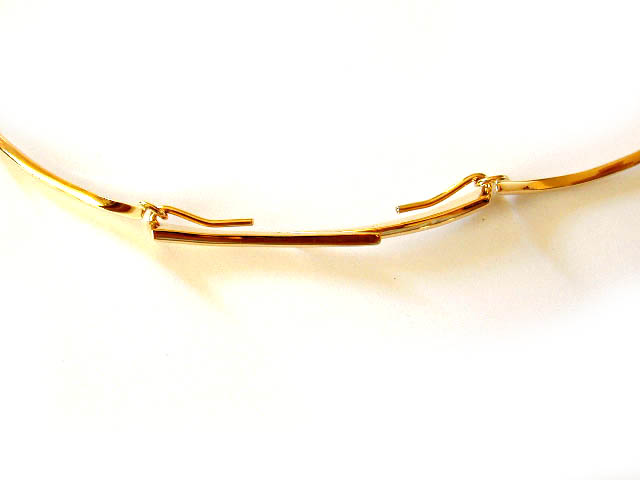
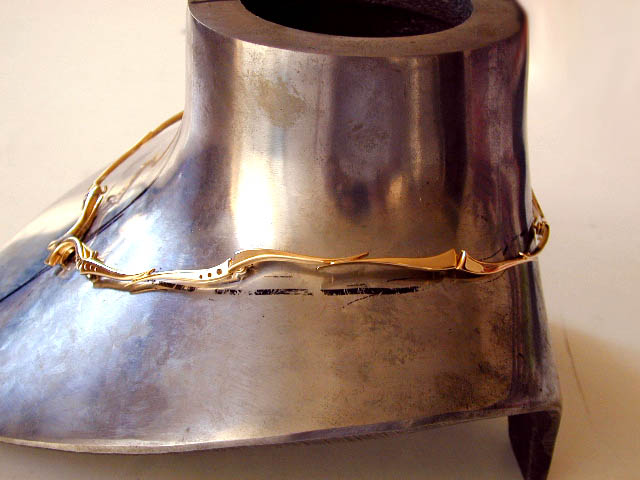
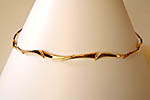
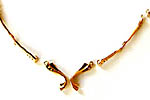 | 09 | Lay out all pieces and verify the length of the necklace. |
 | 10 | Adapt the last piece to reach the right size. |
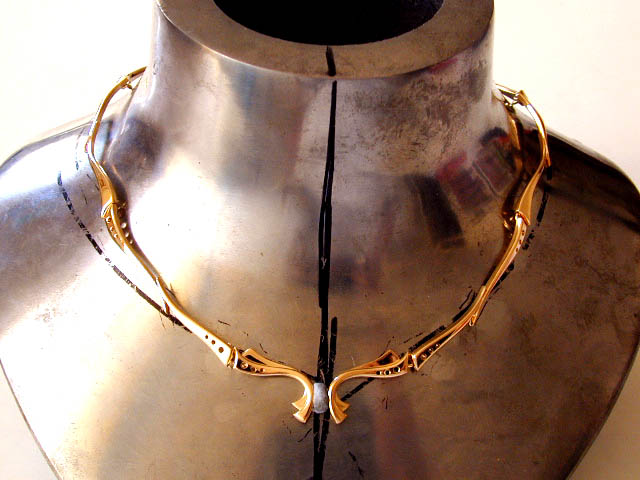
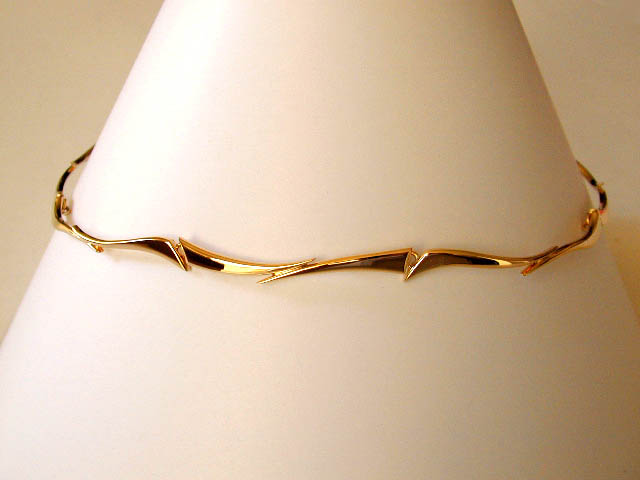
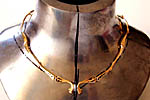 | 11 | Test how the necklace sits on the necklace mandrel |
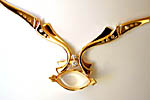
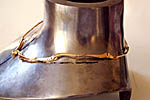 | 12 | Verify the symmetry |
 | 13 | from all sides. |
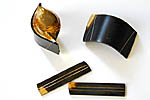 | 14 | Prepare a 0.7 mm plate for the centerstone setting. |
 | 15 | Always handle gemstones with care. Abrasive corundum dust settles on your workbench. |
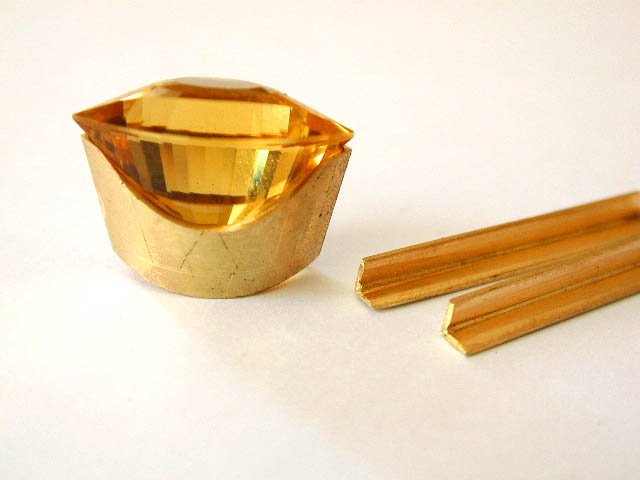
 | 16 | Prepare the angular prongs by filing a V shaped groove. |
 | 17 | Bend |
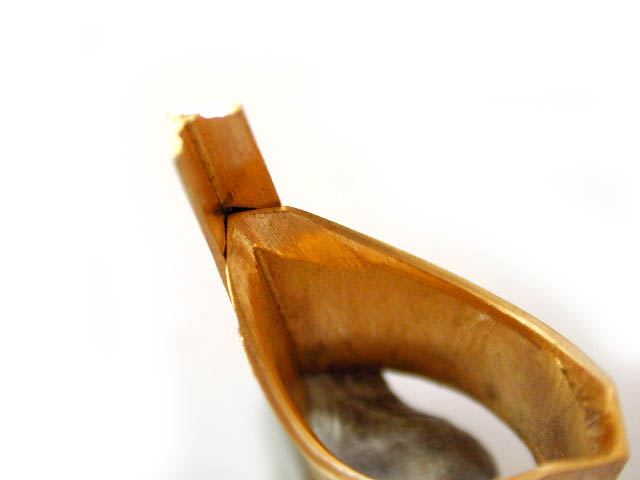
 | 18 | and solder. |
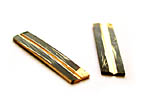
 | 19 | Trace some fine lines to verify the symmetry. |
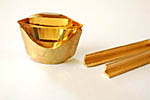 | 20 | Cut out to fit the stone nicely. |
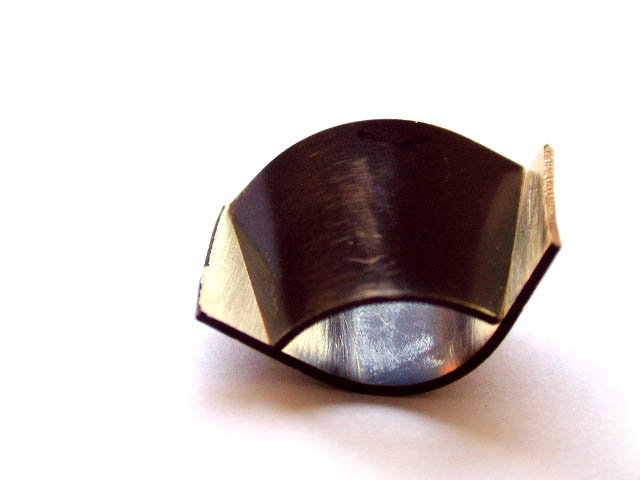
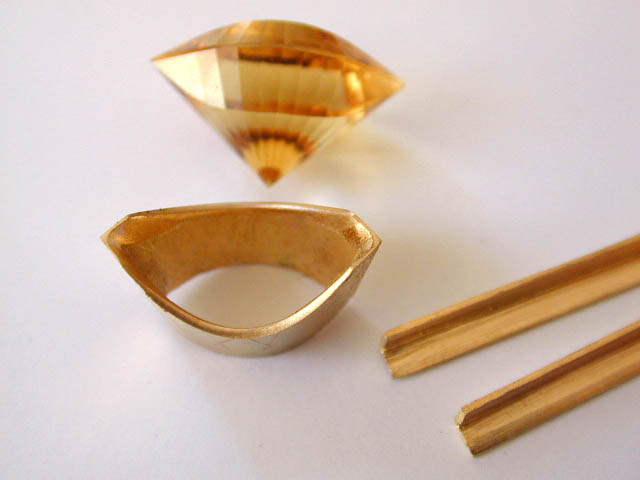
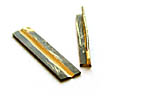
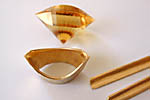 | 21 | Note the inside preparation of the bezel. |
 | 22 | Fit the angular prongs, test with the stone before soldering. |
 | 23 | Fit the centerstone setting into the necklace. |
 | 24 | The two center diamonds are preset before you assemble. It is difficult to set them afterwards. |
 | 25 | Polish the necklace. |
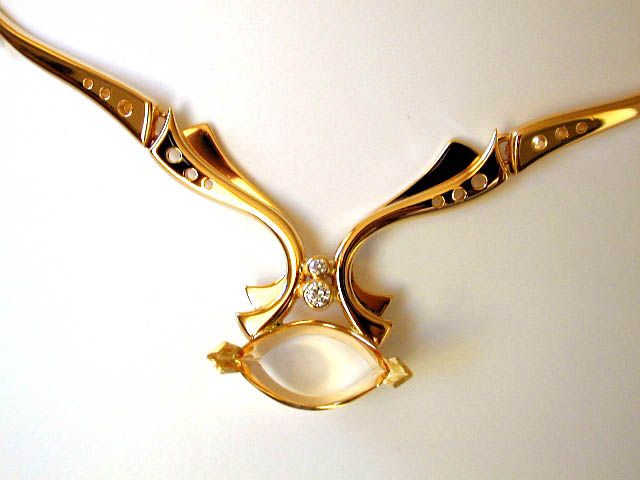
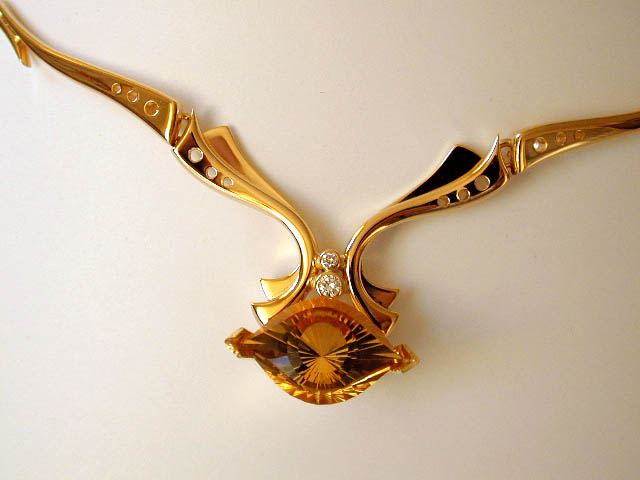
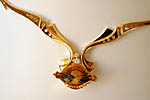 | 26 | This is how it will look. The diamonds are still missing. |
 | 27 | The back. |
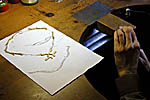
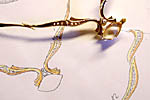 | 28 | Does the design look like the necklace. The final question. |
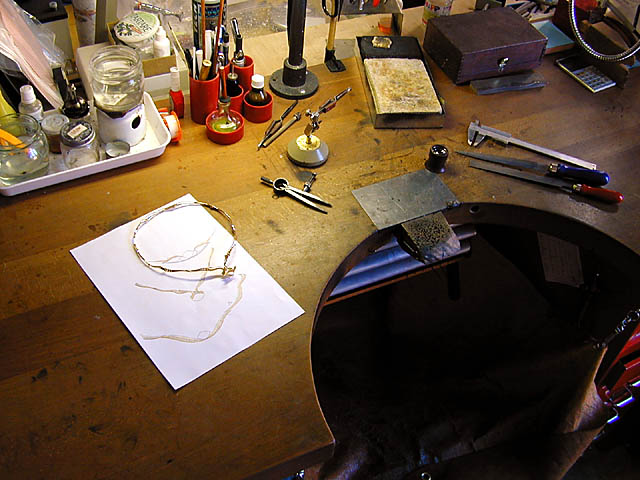
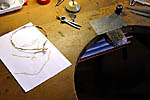 | 29 | My workbench. |
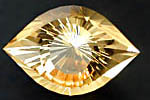 | 30 | Scapolite 11.39 ct from Madagascar cut by Katerina Kestemont (Cleopatra's eye) |